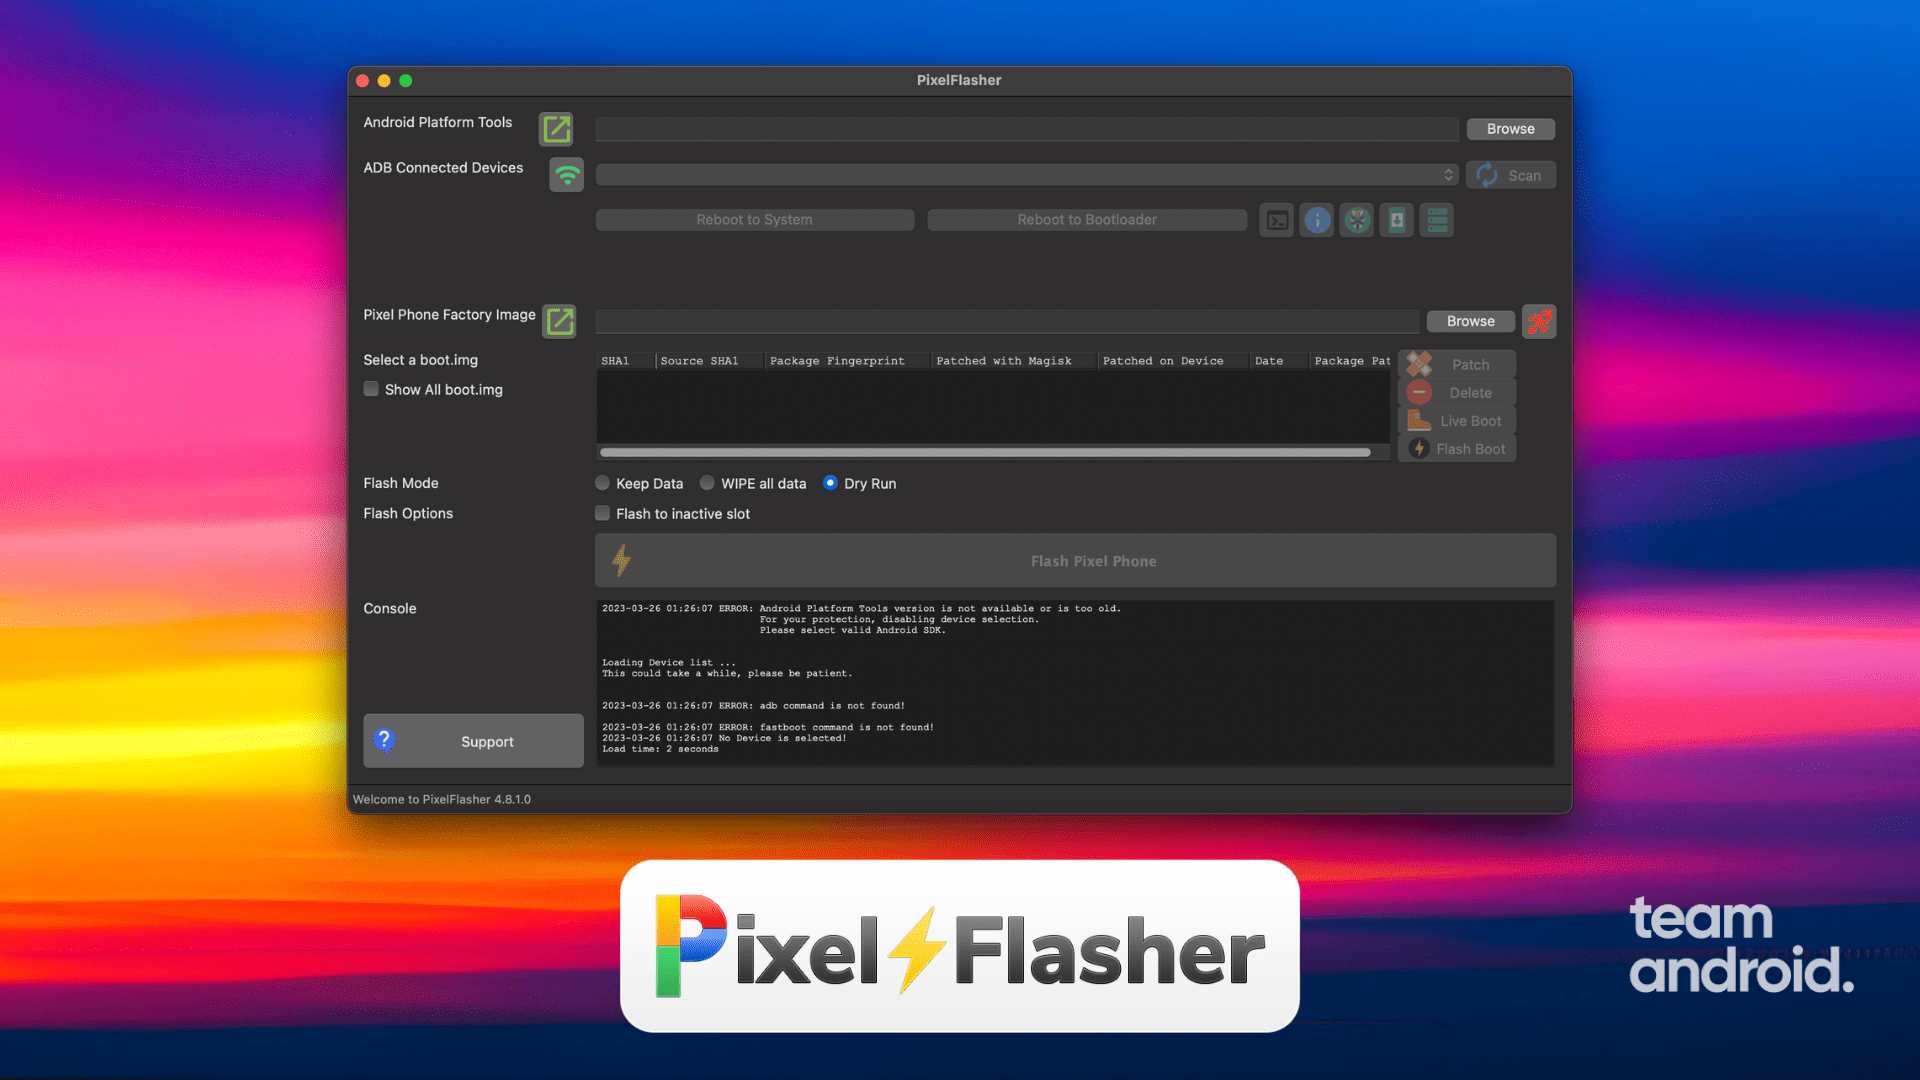
Over the years, we have covered a lot of Android tools and today we bring yet another one – a Pixel flash tool. PixelFlasher is one of the best GUI tools available that allow you to flash factory images, install OTA updates and root the latest Google Pixel phones and tablets. The best part is, it is a portable application and do not need to install it anywhere. It is supported on Windows, Mac and Linux platforms.
PixelFlasher is an open-source flash tool developed by a group of developers with a huge list of features that is simple and easy-to-use for both, beginner level users and also experts. Now for the nerdy bit, this tool is at its core a UI layer on top of adb / fastboot commands, hence many of its features can be used on non Pixel devices as well.
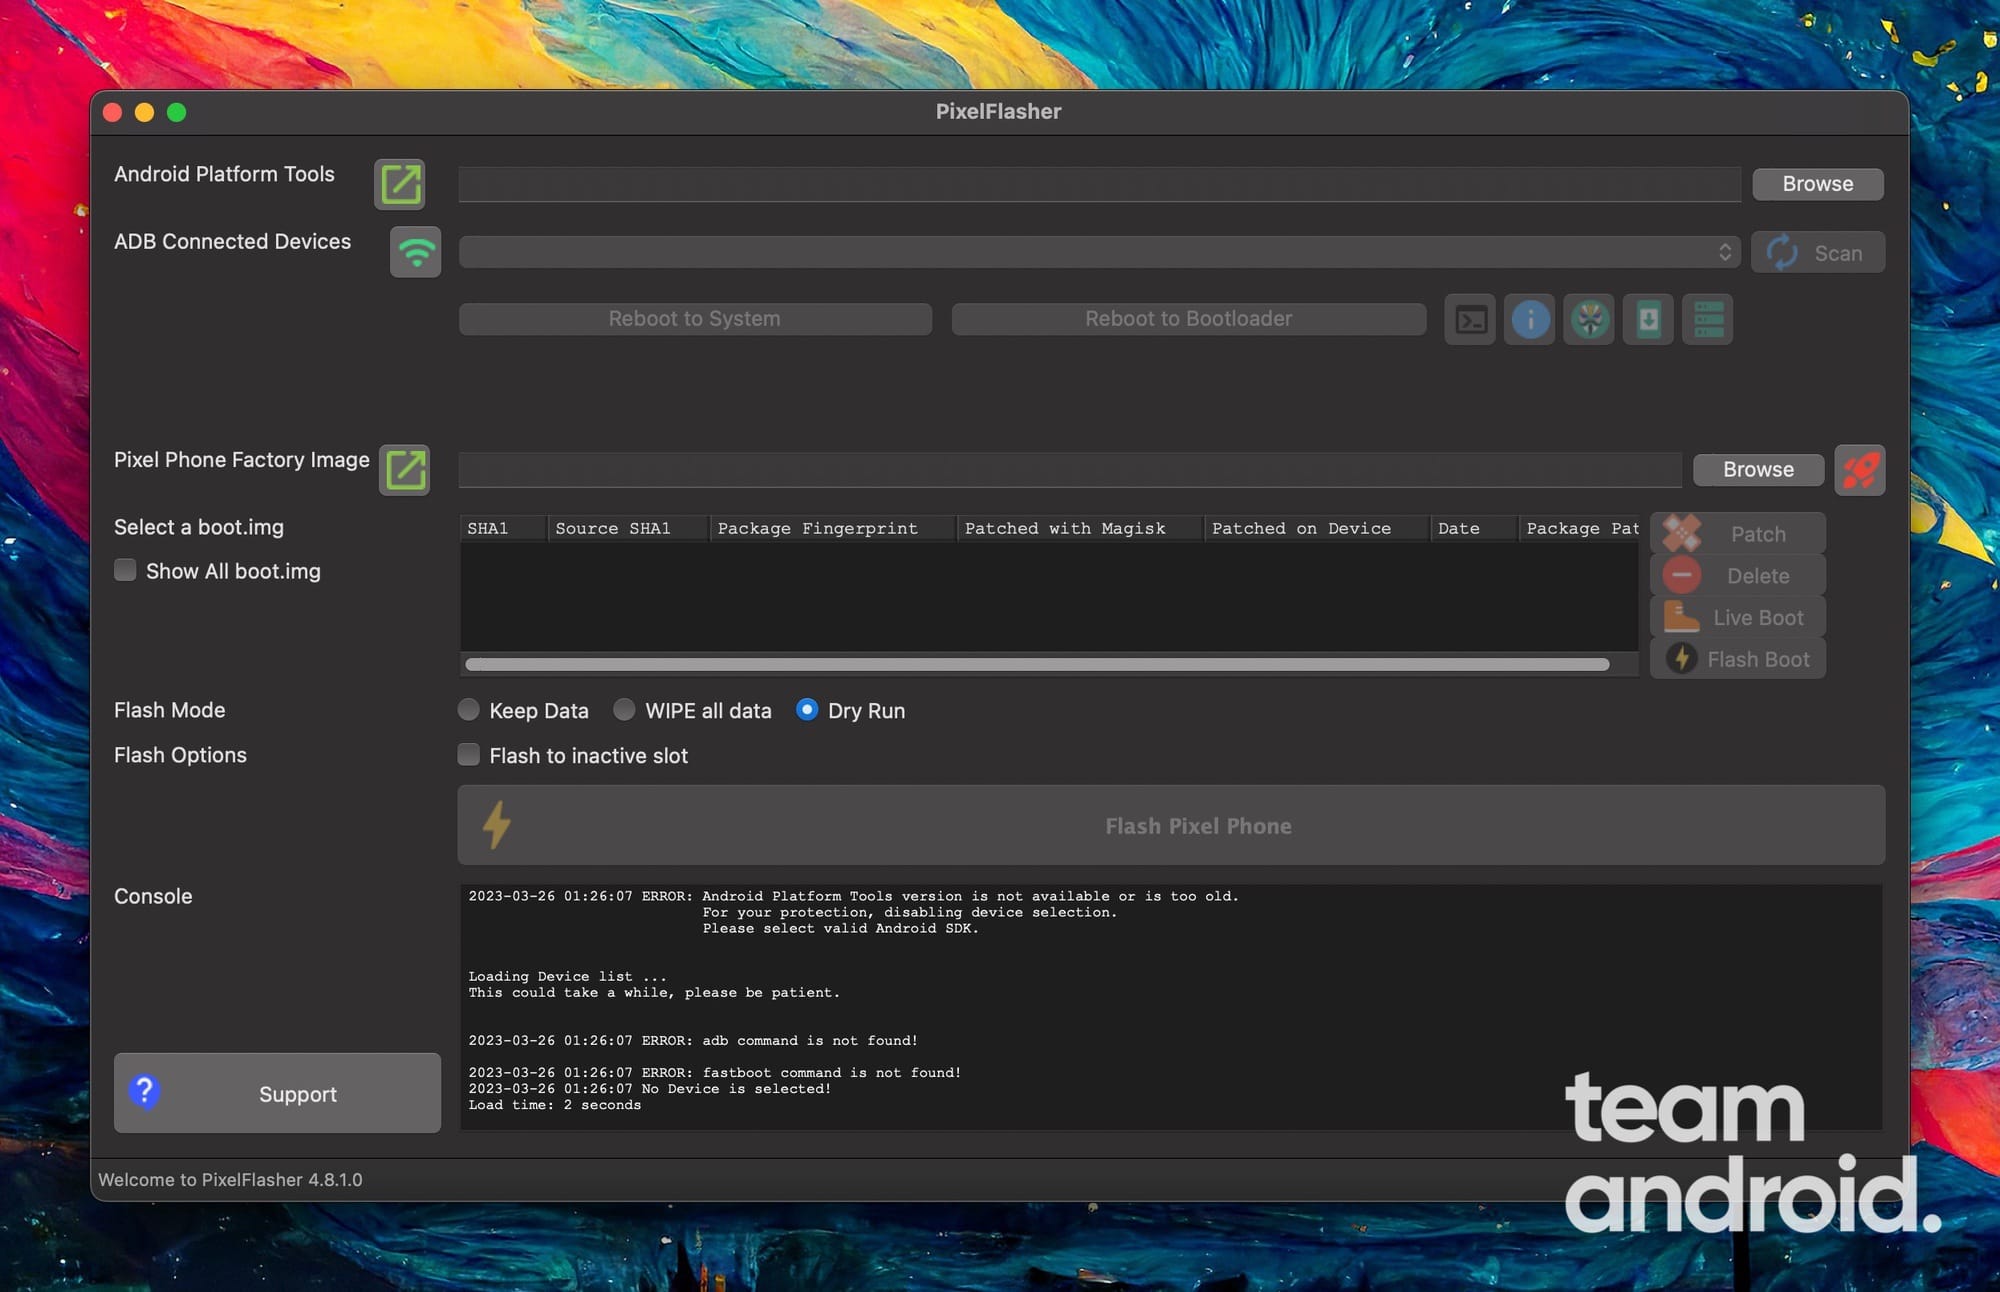
Pixel Flasher Features:
As mentioned earlier, PixelFlasher (Google Pixel flash tool) comes with a long set of features that we have all listed below. There are two modes you can switch to, one is the Basic mode and the other is Expert mode. For most users, basic mode should work well for most of the tasks.
When you try to flash Pixel phones, you get to choose between three modes: Keep Data, WIPE all data and Dry Run.
Pixel Flasher Basic Mode:
Here are all the features you can use in basic mode:
- Simple UI interface, click and go. No more command line, no more placing all files in one directory.
- boot.img management UI, select the boot.img file to patch and click the patch button. Fully Automated patching with Magisk (without manual steps) and perform upgrades without losing root.
No more manually extracting files transferring to the phone, patching / re-flashing and doing multiple reboots.
No more setting airplane mode and clearing storage to retain Safetynet passing. - Display details of boot.img (or init_boot.img for Pixel 7 / 7 Pro).
- SHA1 checksum.
- Origin (file it was extracted from).
- Whether it is patched or not, and if it is patched.
- What version of Magisk was used to patch it.
- On what device it was patched.
- Date of patching.
- The SHA1 of the source boot.img file.
- Option to Live boot from a choice of boot.img or patched image.
- Flash just the boot / init_boot image.
- Choose to keep data or wipe data while flashing.
- Ability to flash even if multiple devices are connected to the computer.
- Option to flash to inactive slot.
- Display information about the phone.
- ID
- Hardware model.
- Device architecture.
- Current installed firmware (build).
- If it is rooted with Magisk.
- Magisk version (Magisk Tools).
- Magisk Manager version (the app).
- List installed Magisk modules.
- Connection mode (Adb | Fastboot | Sideload | Recovery).
- Bootloader version.
- Active slot.
- Android OS API version.
- Convenient quick links to download Android platform tools or device firmware.
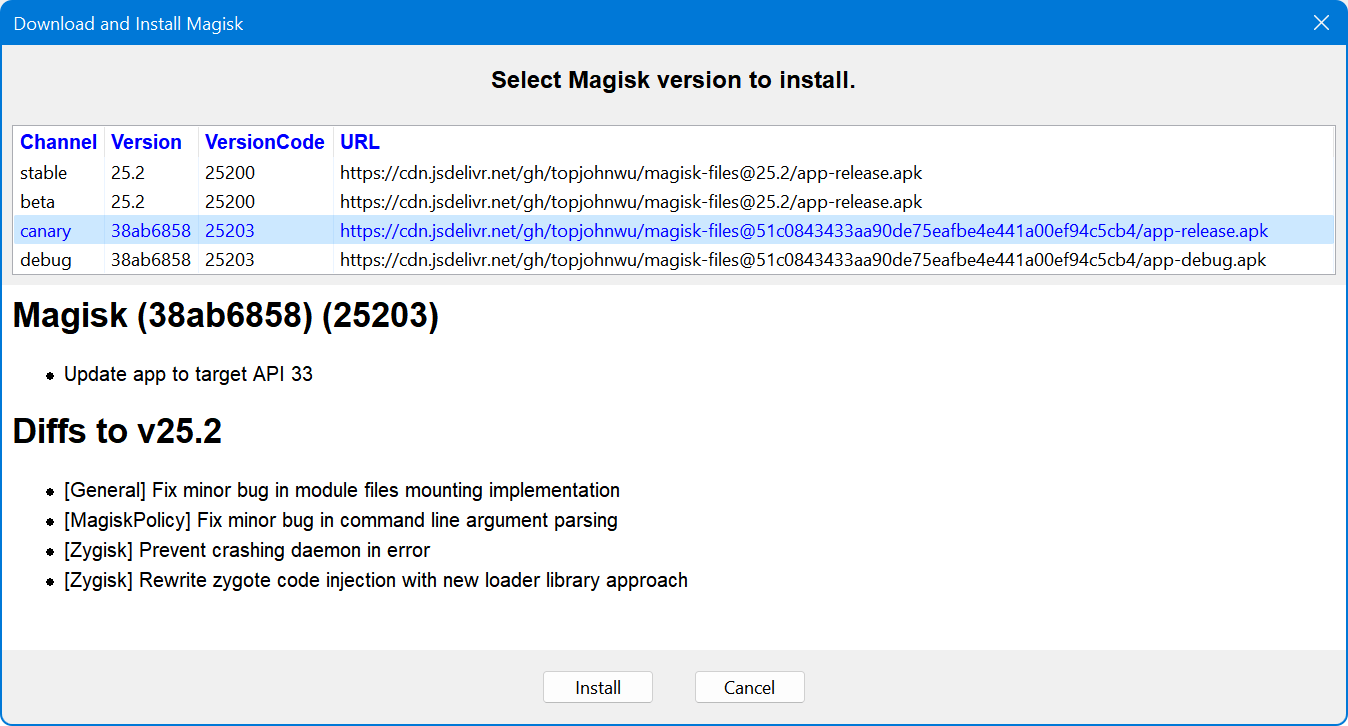
- Magisk Manager installation UI. Supported versions:
- stable (official)
- beta (official)
- canary (official)
- debug (official)
- alpha
- delta
- special build that disables modules, used to recover from bootloops due to bad module(s) when safe mode does not work.
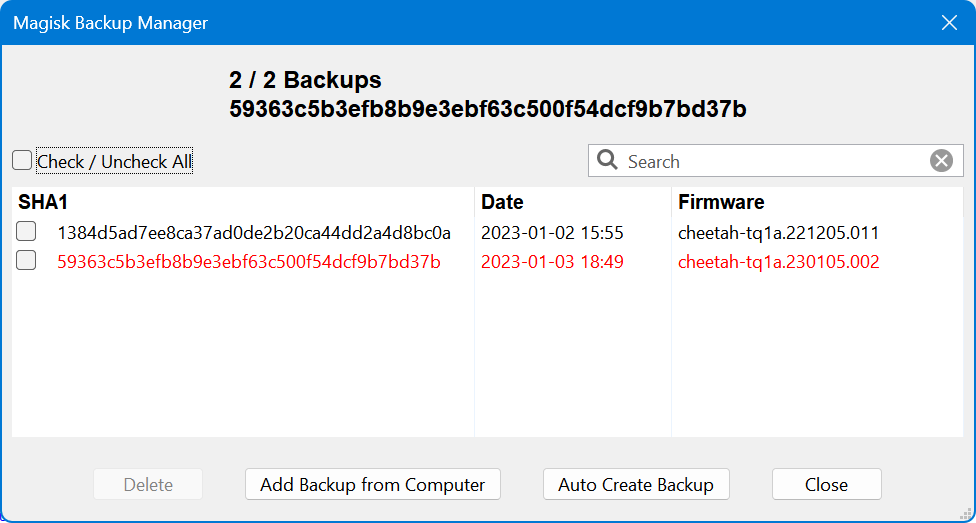
- Magisk Backup Manager.
- List all Magisk backups currently on the device.
- Highlight the one that is backup of the current installed version.
- Delete backups.
- Manually add backup from PC.
- Auto Backup: PixelFlasher figures out what needs to be backed up, and if it finds it on the PC, it creates the backup.
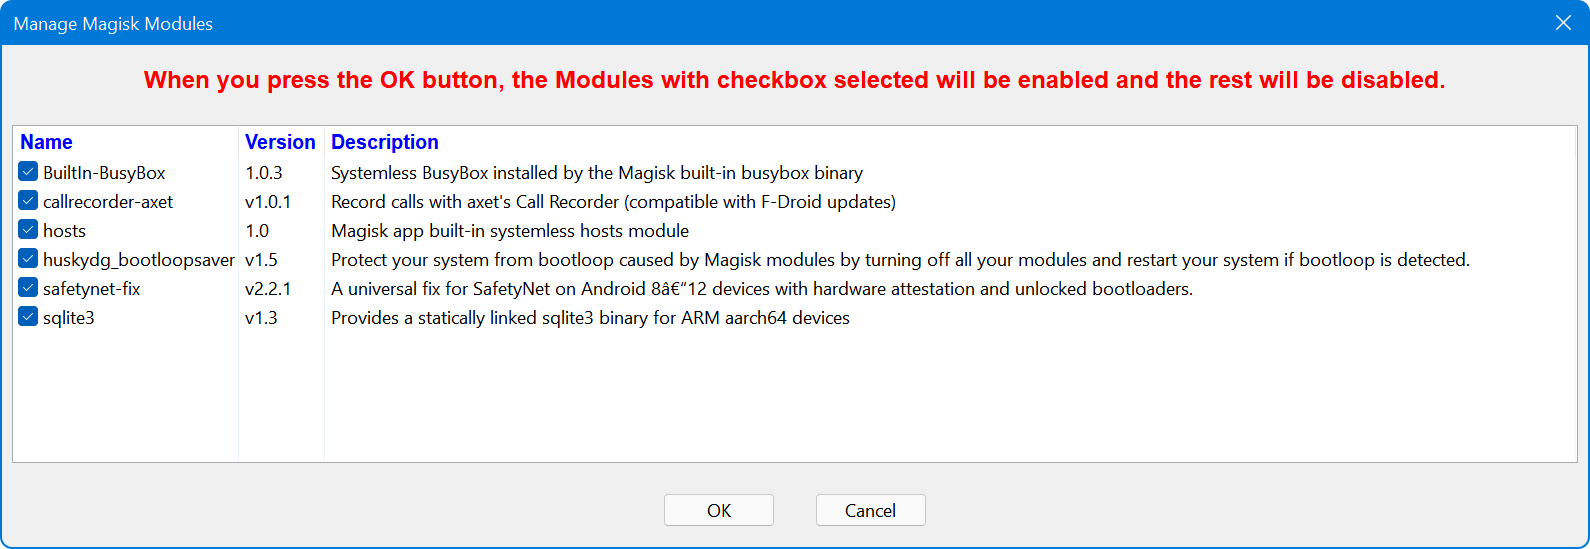
- Magisk modules management, enable / disable modules selectively, this comes in handy to disable suspect modules before an upgrade:
- Name
- Version
- Description
- Enabled / Disabled.
- Display Android Platform Tools (SDK) version and warn / block if the version is old.
- Install APK (an app) file from the computer onto the device.
- Advanced features are hidden to keep the interface simple and easy to follow.
- A lot of checks and validations for smooth operation.
- Automatic check for program updates.
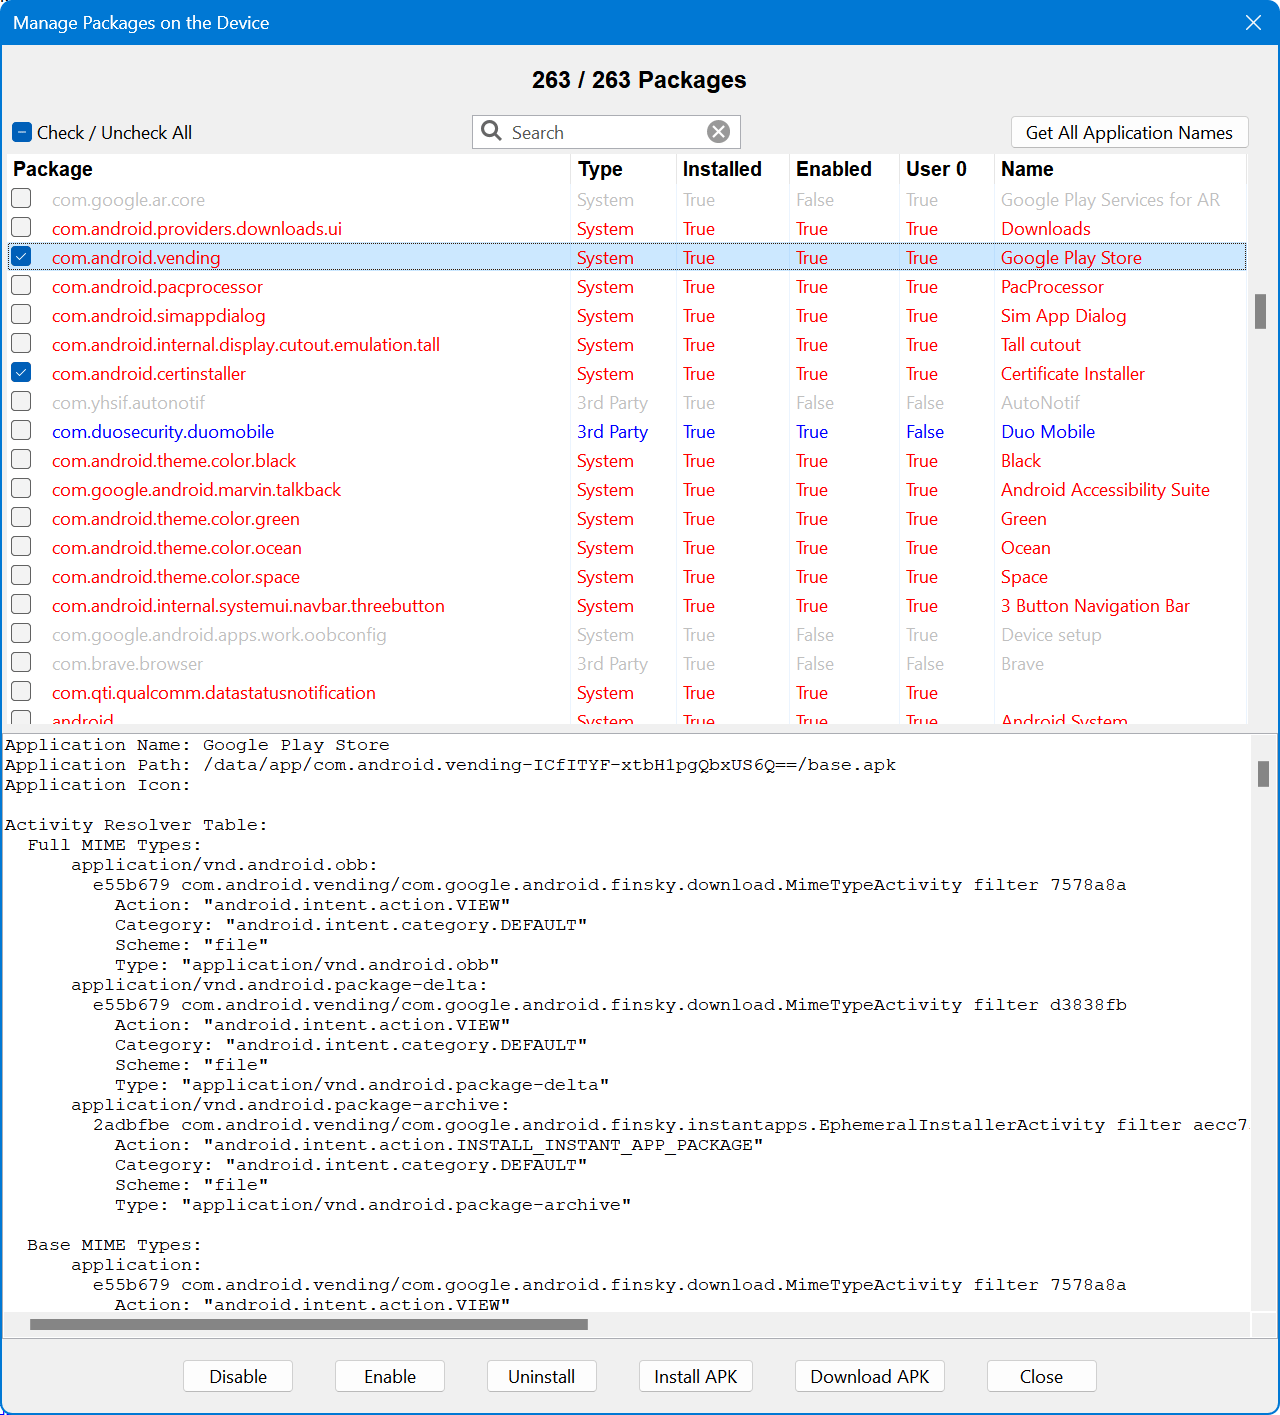
- Package (Application) Manager:
- Disable (Freeze)
- Enable
- Uninstall
- Install APK
- Download APK
- Multi-Select
- Show Package Details.
Pixel Flasher Expert Mode:
This mode should only be turned on by experienced users which would allow you to use the following features:
- The ability to flash custom ROM (with or without patching boot.img)
- Option to flash to both slots.
- Option to flash to inactive slot.
- Options to disable verity and or verification.
- Ability to change the active slot.
- Ability to live boot to custom boot.img (temporary root).
- Ability to boot to recovery.
- Ability to flash custom image: boot, recovery, radio, kernel, …
- Ability to sideload an image.
- Lock / Unlock bootloader.
- Option to gain temporary root (good for testing or checking things out).
- SOS Disable Magisk modules to get out of bootloop (experimental).
How to Download, Install and Use PixelFlasher
To download, install and use PixelFlasher you need to make sure some prerequisites are available and set up on your computer. You will also need to download the correct version of Pixel Flasher for your desktop platform.
Prerequisites:
- Android SDK Platform Tools
- Factory Images for Nexus and Pixel Devices
- Unlocked bootloader on your phone (official guide)
Download:
You can now download PixelFlasher for Windows, Mac and Linux platforms from the direct links below:
How to Install:
You do not need to install PixelFlasher. Simply download, and double-click the app file to begin. Here is how you can start using PixelFlasher:
- Download the PixelFlasher tool from the links above.
- Enable USB debugging on your Pixel phone. Go to Settings > System > Developer options > USB debugging, and enable the toggle switch.
- Connect your Google Pixel phone to your computer using a USB cable.
- Open the PixelFlasher tool on your computer.
- Click on the “Flash” button and select the firmware or image you want to flash.
- PixelFlasher will then start the flashing process, and your Pixel phone will reboot once the process is complete.
This is everything you need to know about PixelFlasher. For detailed how-to guides and walkthroughs on flashing updates and rooting Google Pixel devices, stay tuned as we will be covering them soon.
All credit goes to badabing2003 for releasing this epic tool for Pixel and non-Pixel phones.

