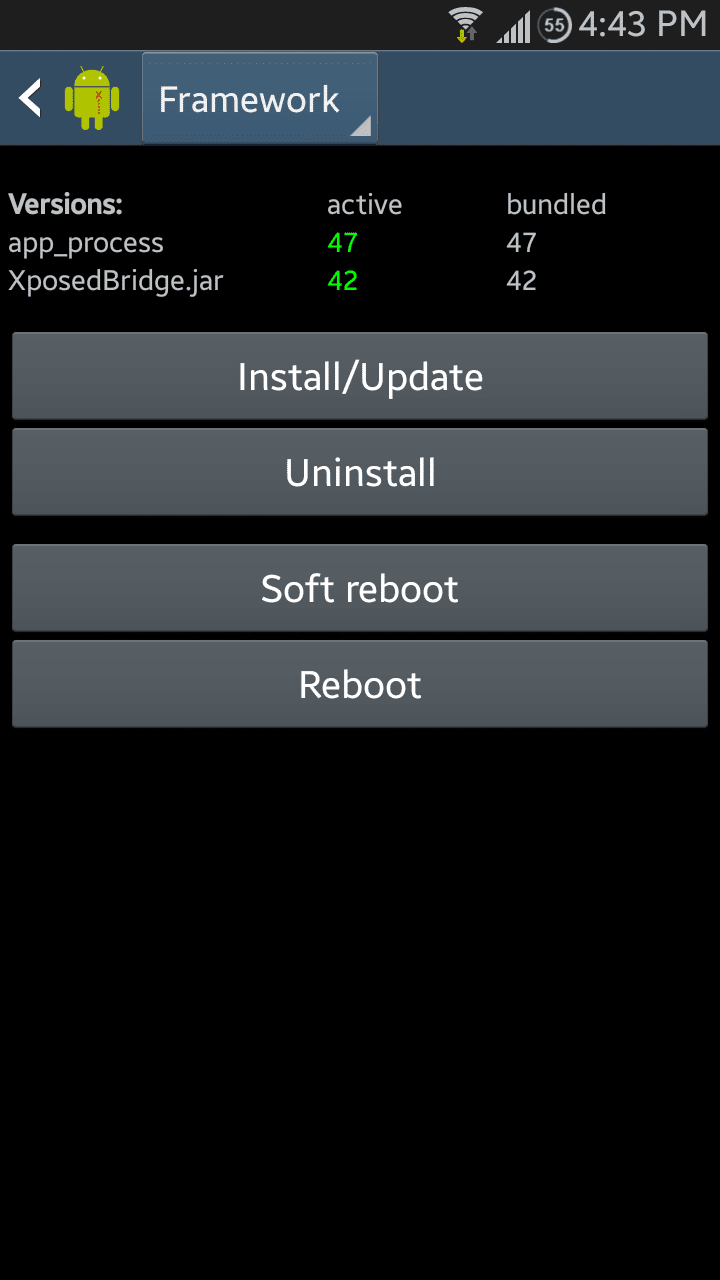
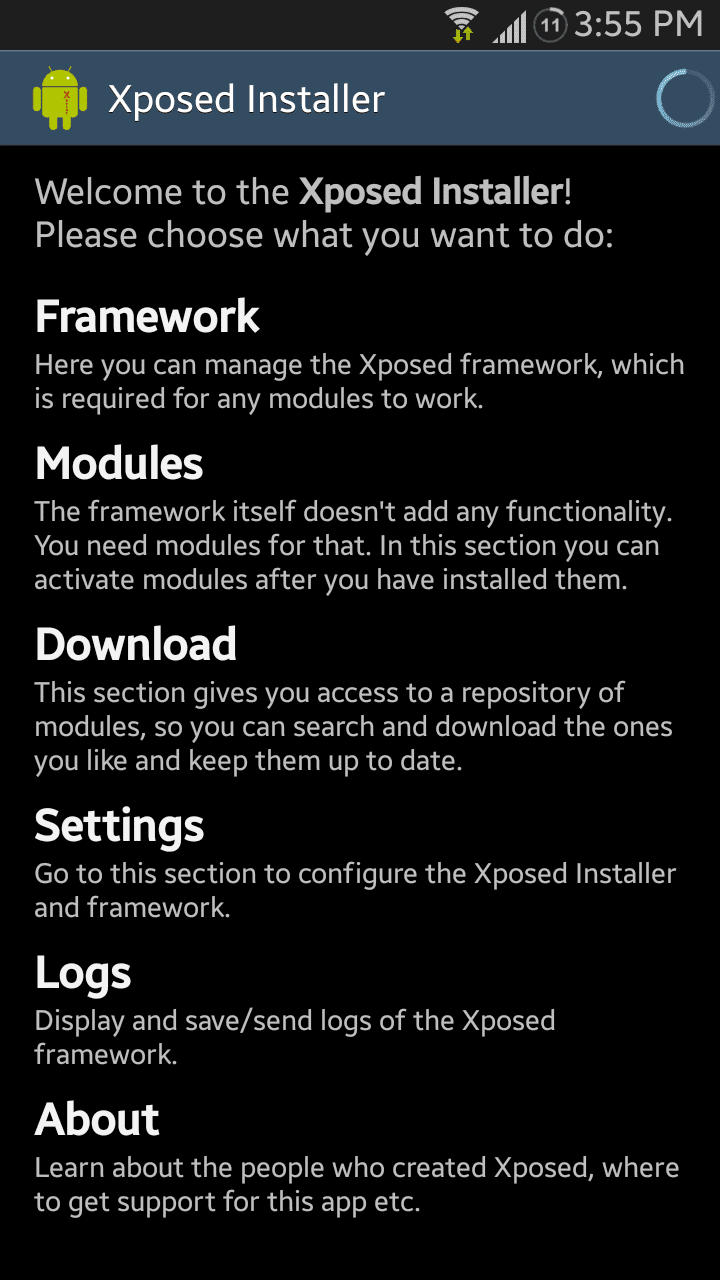
Xposed Framework is an app for your phone that allows you to modify your device without modifying any system-level files or flashing any custom ROMs on your phone. It has a number of uses, from saving battery to changing your battery icon indicator. In this post, we will describe how to install Xposed Framework on your rooted Android device.
This is an extremely easy mod to install and use on your rooted Android phone or tablet. The only requirements needed for the mod is a rooted Android device with Android 3.0 or later. Below, we will describe all the necessary steps to install Xposed framework on such a device. Please note, this is just the first of our Xposed Framework series of mods and tutorials coming up. So keep a lookout and follow us on Twitter, Facebook and Google+ for the next posts.

Disclaimer: All the custom ROMs, firmwares, official software updates, tools, mods or any other software mentioned in the tutorial belong to their respective owners/developers. TeamAndroid.com and its associates are not responsible if you brick or otherwise damage your device or lose your data.
All set and ready? Good. You can now proceed below and find out how to install Xposed Framework.
UPDATE (March 2020): For the latest Xposed Framework tutorial for Android 9 and Android 10, read the following: How to Download Xposed Framework for Android 10
How to Install Xposed Framework on a Rooted Android Device
Before we continue to the tutorial, please note that this guide has been divided into three parts: Part 1 (only for Samsung users), Part 2 and Part 3. You need to go through them in order for the Xposed Framework to be installed on your phone/tablet properly.
PART 1: Disabling KNOX – Only for Samsung Devices with Android 4.3+
NOTE: You need to follow these steps only if you have KNOX on Samsung phones and tablets with Android 4.3 and above.
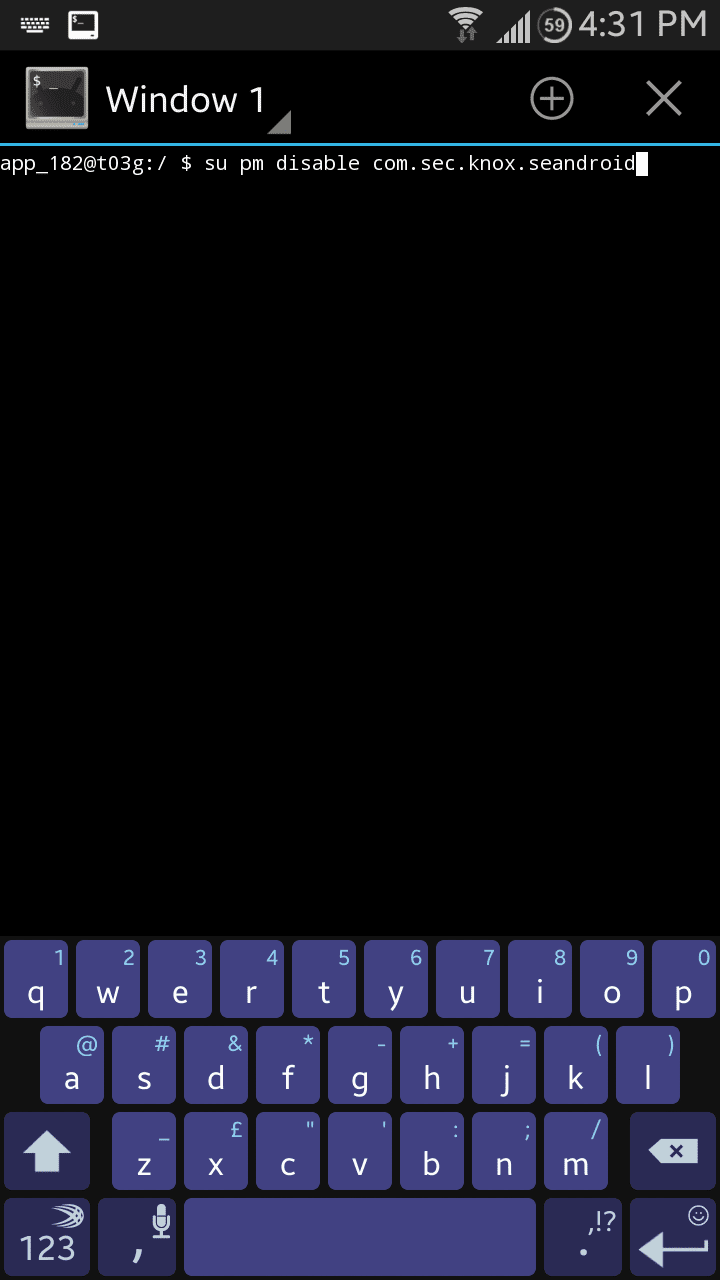
Step 1 – Install Android Terminal Emulator from the Google Play Store, if you haven’t already.
Step 2 – Launch Terminal Emulator.
Step 3 – Type the following without quotes: “su pm disable com.sec.knox.seandroid“.

Step 4 – Grant it root access if asked to do so.
Step 5 – Close the session by tapping the cross near the top-right corner of the emulator.
That’s it! You should have successfully disabled KNOX. Let’s move on to the next page for the next part of this tutorial which is only required if you have an Android phone with Android 4.3 or above.


How can I solve this.? Pls help
I have the same problem…
ya…
xposed framework doesn’t install on my grand neo. 4.2.2 ver
Help me. When my device reboots into recovery mode, it says Installation aborted below. How do I fix that? I’m running on 4.0.4, btw.
after the installation do i need to keep selinux and terminal apps?
no
My problem is that Xposed does not have the Framework for my Android-SDK-Version or my CPU (armeabi-v7a)
So i cant install it. Is there a tipp from u guys to fix it ?