Taking a screenshot on your Android device is a handy feature that allows you to capture and save what’s currently displayed on your screen. Whether you want to save a memorable conversation, share an interesting article, or troubleshoot an issue, knowing how to take a screenshot is essential. In this guide, we’ll walk you through the various methods to capture screenshots on Android devices.
Since not all Android phone manufacturers run the same skin, there are different ways to take a screenshot on each device. Some utilize only the conventional button combination method whereas others integrate some sort of software functionality.
Screenshots is a fundamental Android feature and one that has been integrated within the OS since the start. However, each brand has its own interpretation as to how it allows its user to execute it. This is exactly why when users jump from one brand to the other, they find that they can no longer apply the same screenshot procedure which they used before.
Right ahead we have listed all the methods you can use on your phone to take a screenshot. In addition to the universal button method that applies to almost every Android device, there are other ways as well. The following universal methods apply to all the Android devices that use stock Android i.e. Google Pixel, Nothing phones etc.
Divided under each brand for easier referencing, here are all the different procedures involved in taking a screenshot.
Use Universal Buttons Method
The most common way to take a screenshot on any Android device is to use the universal buttons combination. You can take a screenshot by pressing the Volume Down and Power buttons simultaneously for a second.
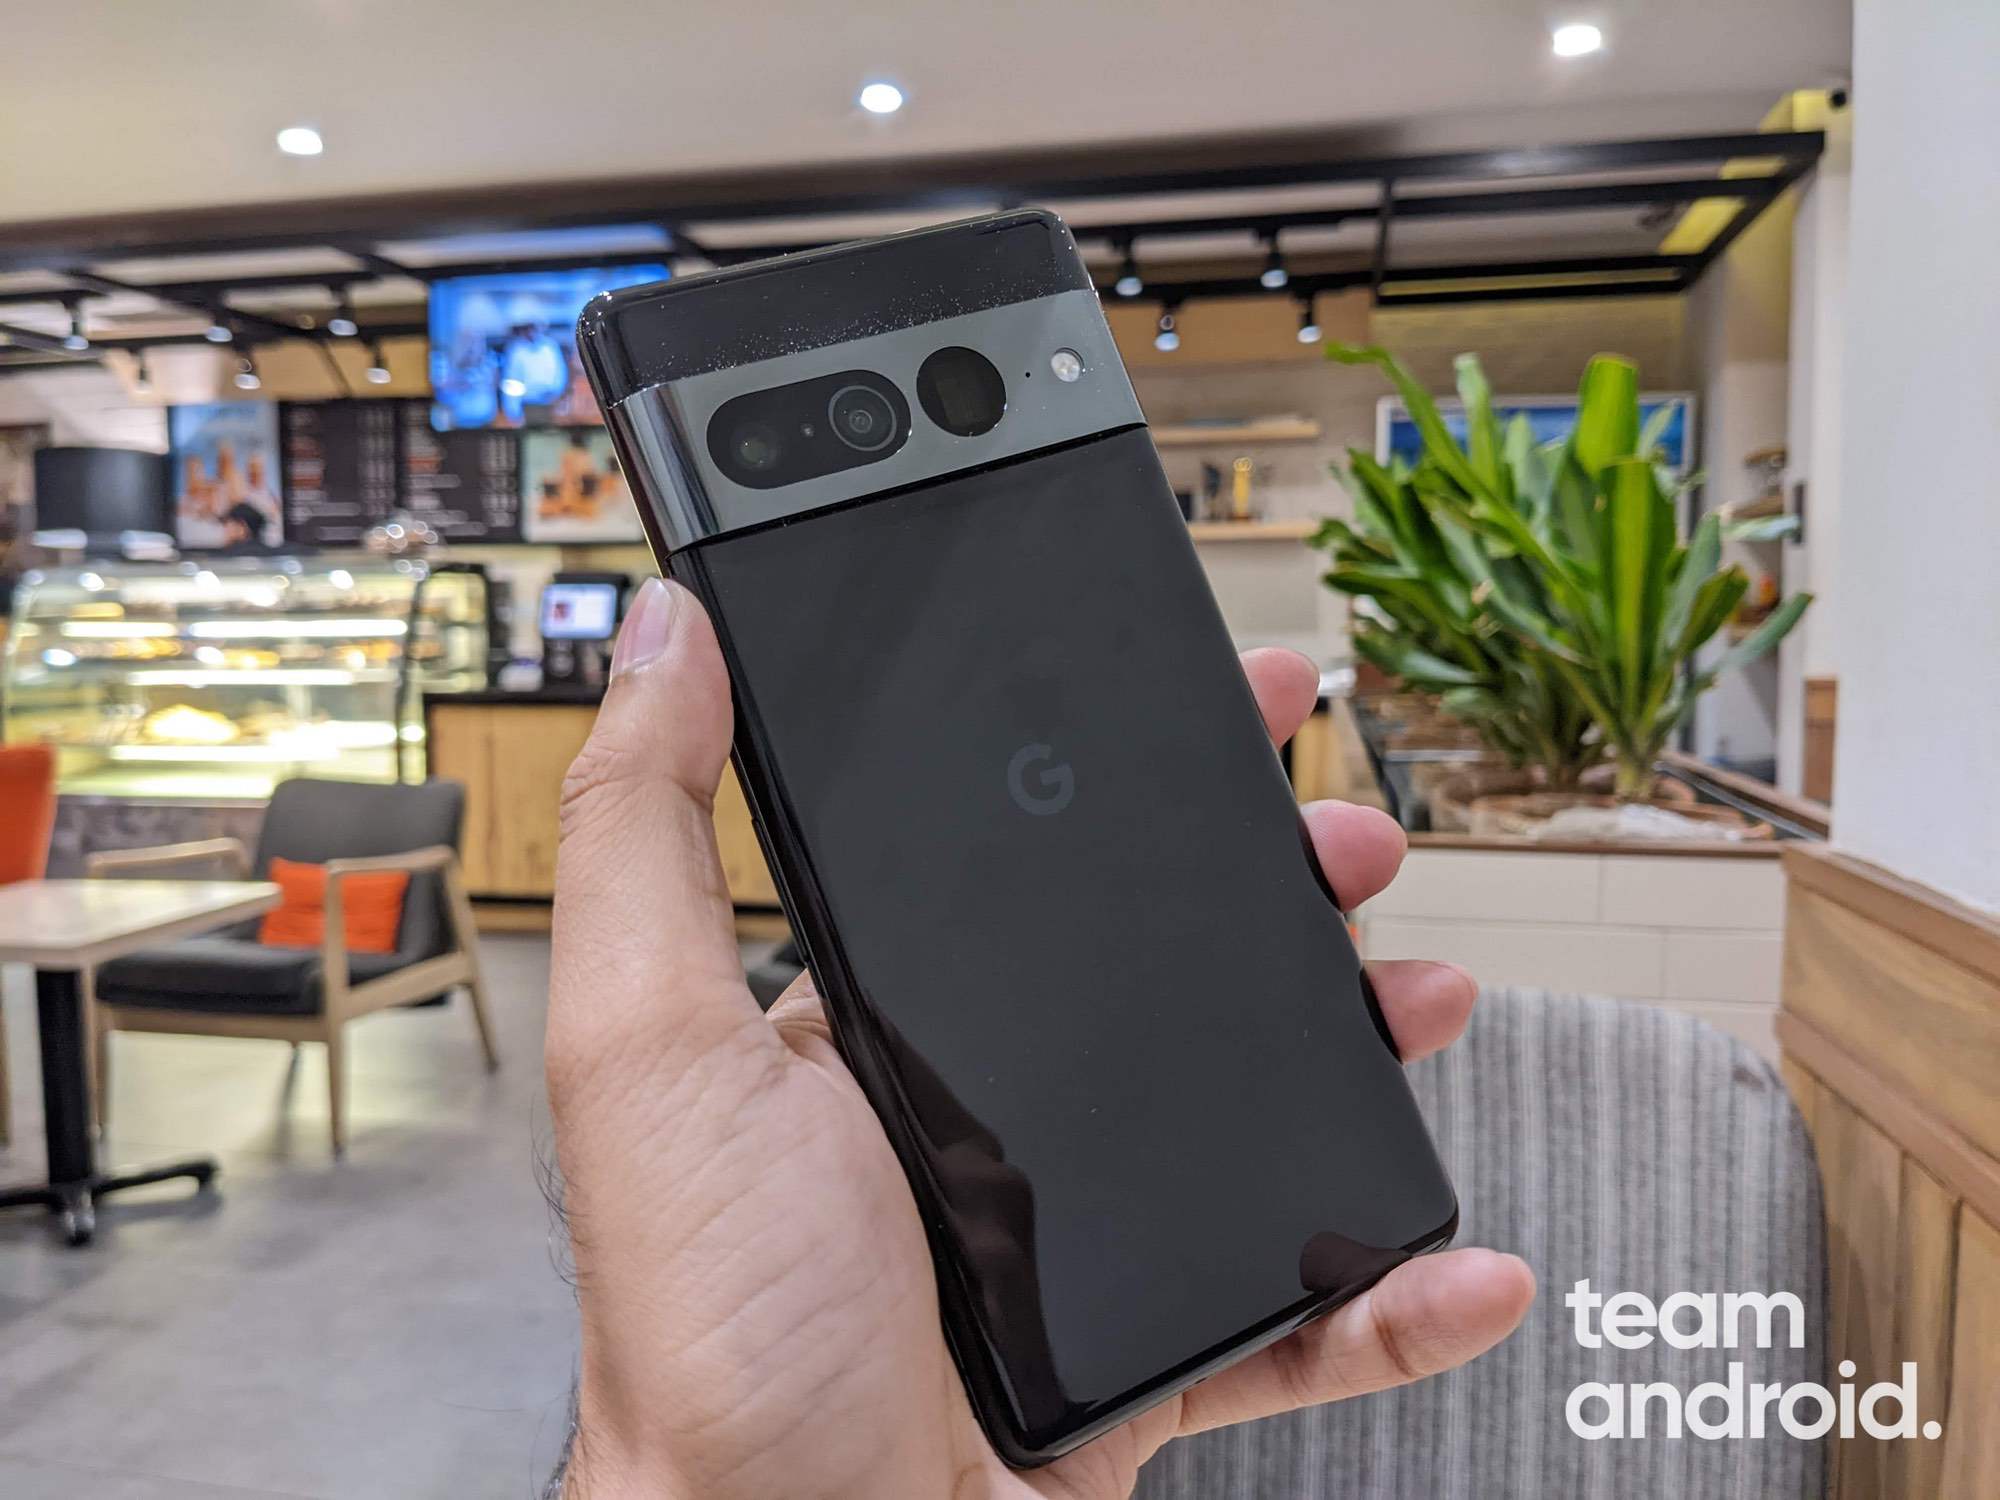
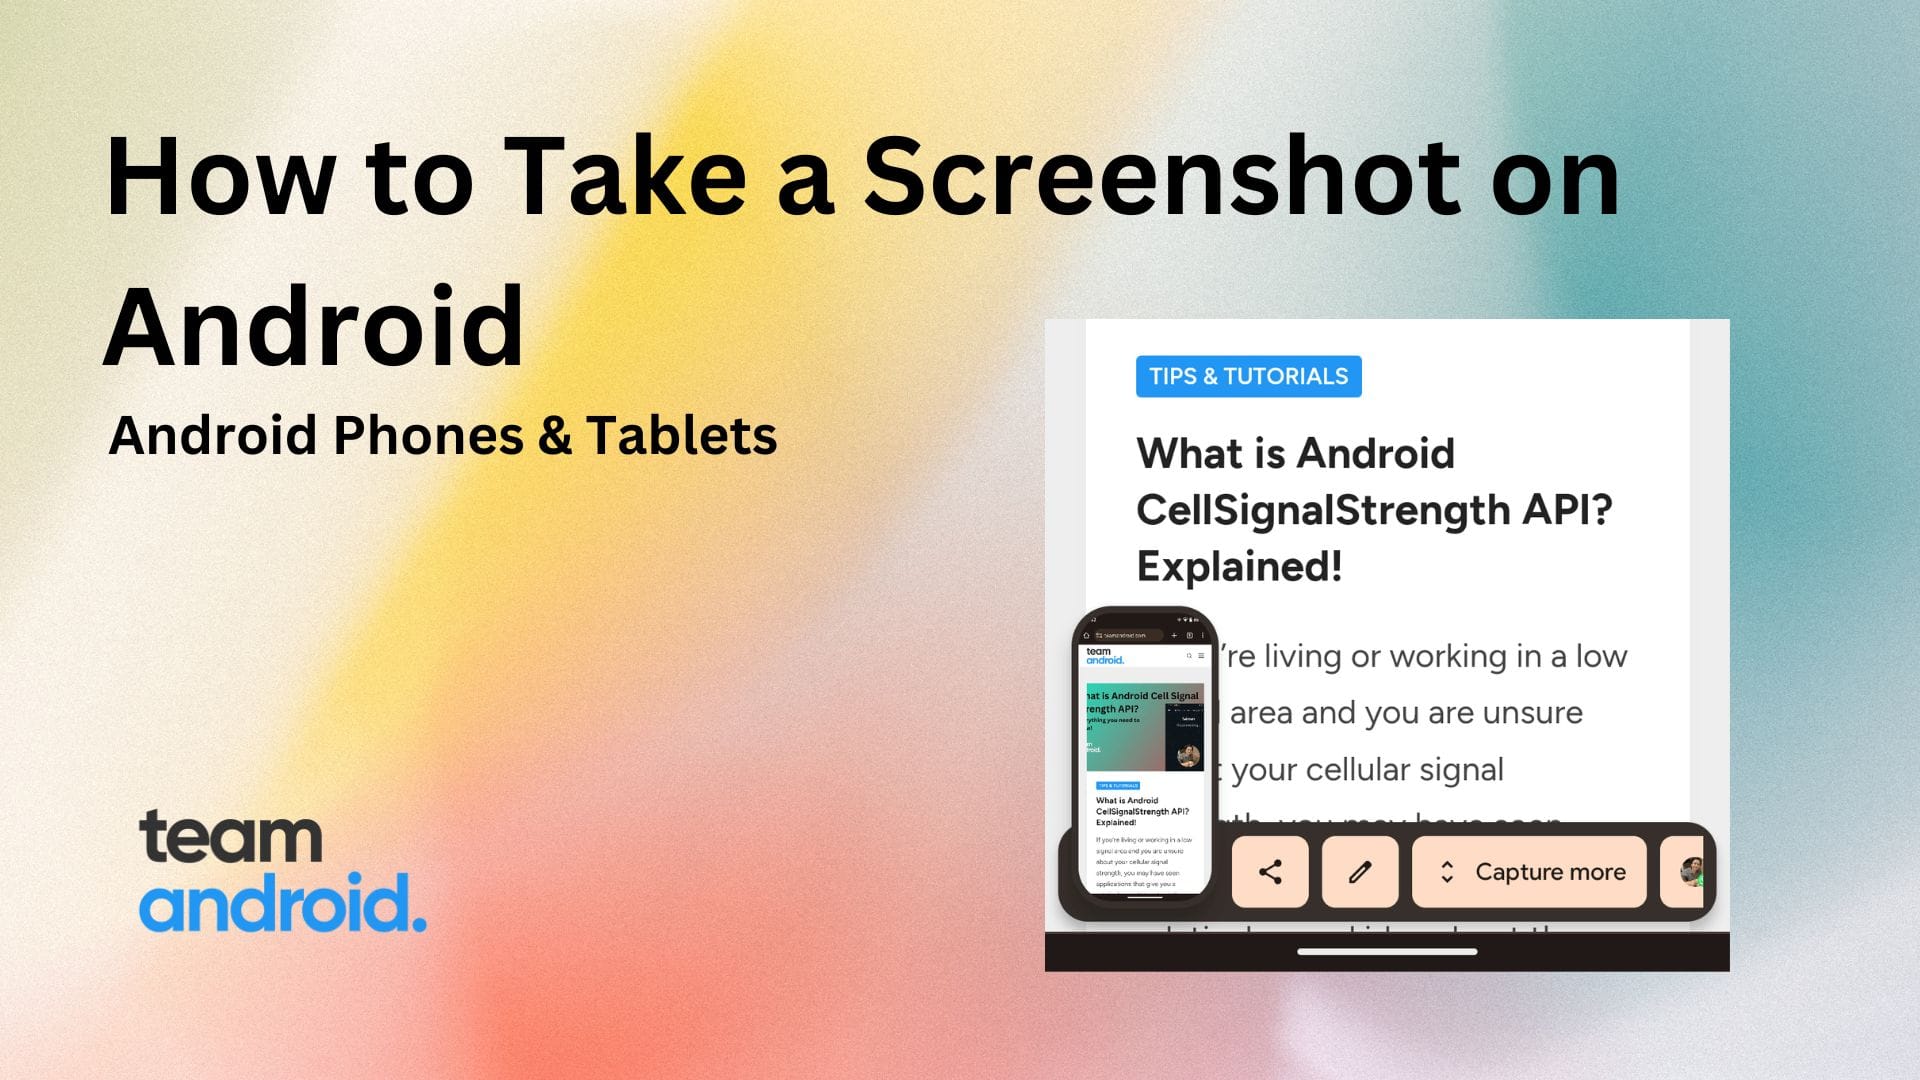
Once the screenshot is captured, you will hear a shutter sound and a visual floating image is displayed from where you can quickly share, edit or delete the screenshot image. This confirms that the screenshot has been captured and saved into your phone gallery.
Phones with Home Button:
On older Android devices that have a physical Home button on them, here are the steps to take a screenshot:
- Press and hold Home and Power buttons simultaneously for at least 3 seconds.
- Your phone should display a screenshot animation to report it has grabbed the screen successfully.
- Open up Gallery and browse to the Screenshots folder to view the screenshot.
How to Take a Scrolling Screenshot on Android
Trying to save a messaging conversation that is longer than a single screenshot? For cases where the content you want to capture in a screenshot doesn’t fit the phone screen, Android 12 introduced the scrolling screenshot feature.
A scrolling screenshot allows you to take a long screenshot of the content. It captures everything on your screen while you scroll up or down the content – and in some phones, this is done automatically rather than scrolling manually.
Several Android manufacturers like Samsung, OnePlus etc. have had this feature since many years but the official Android team brought this to every device with the release of Android 12.
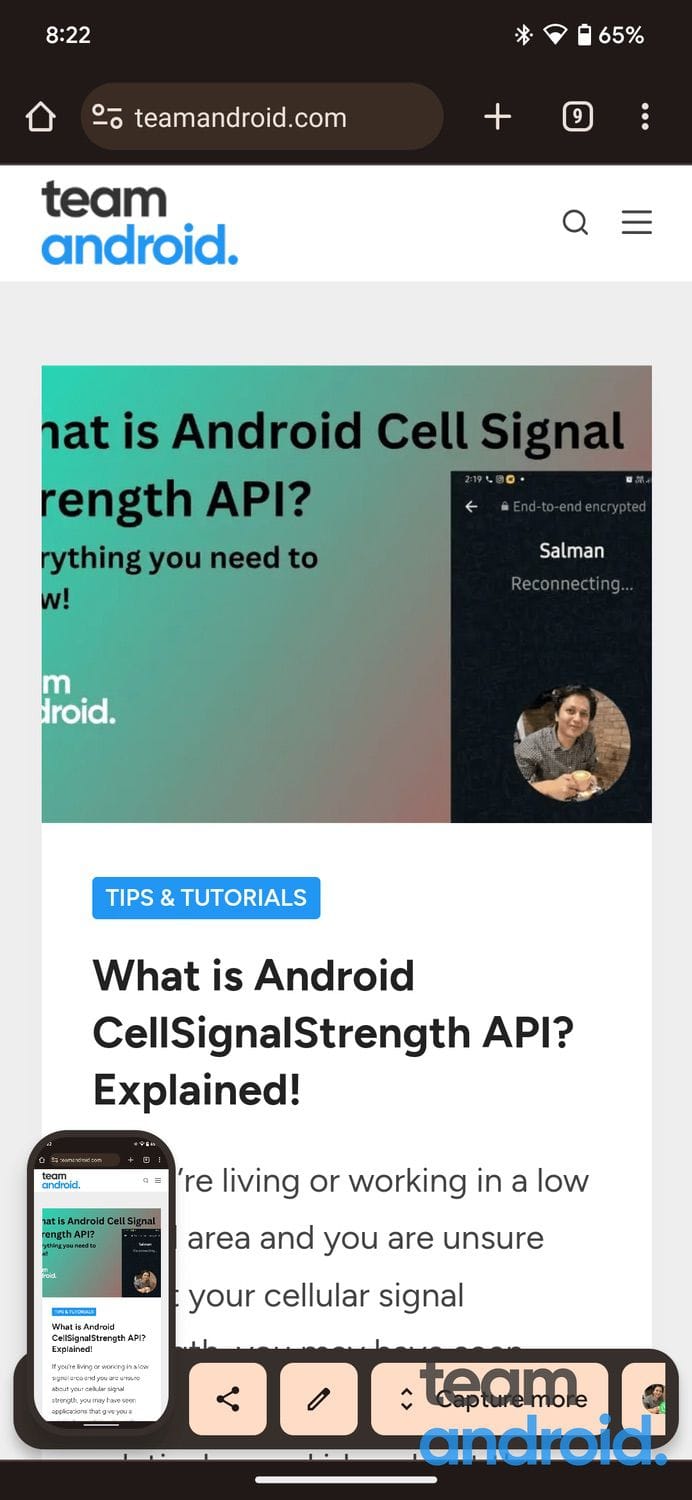
Here is how you can take a scrolling screenshot on any Android device:
- Open the screen that you want to capture.
- Press the Power and Volume down buttons at the same time.
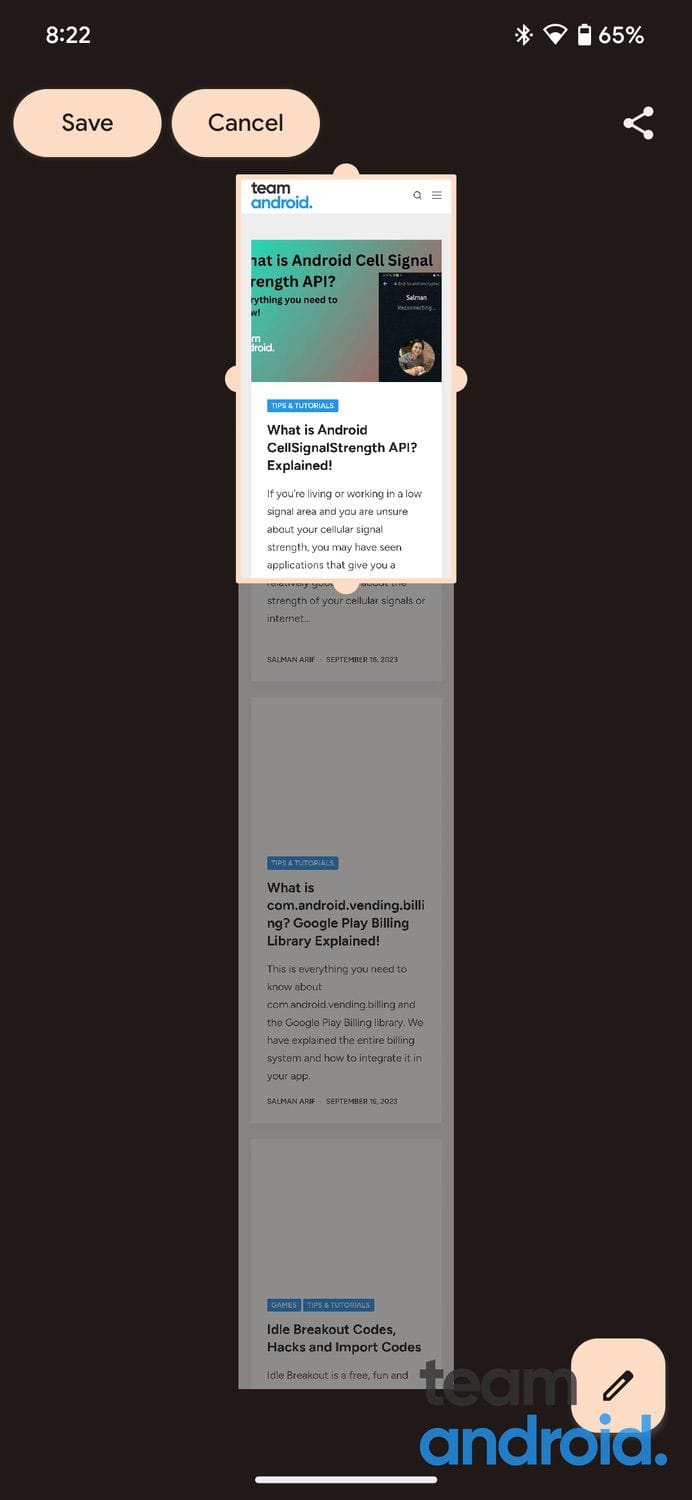
- At the bottom, tap Capture more.
- To select the content you want to capture, use the crop guidelines.
How to Take a Screenshot with Voice (Google Assistant)
Just like how you can perform most functions on an Android device using Google Assistant, you can also take a screenshot using voice commands. To take a screenshot, you just need to activate the Google Assistant by saying “Hey Google” and then say “Take a screenshot.”
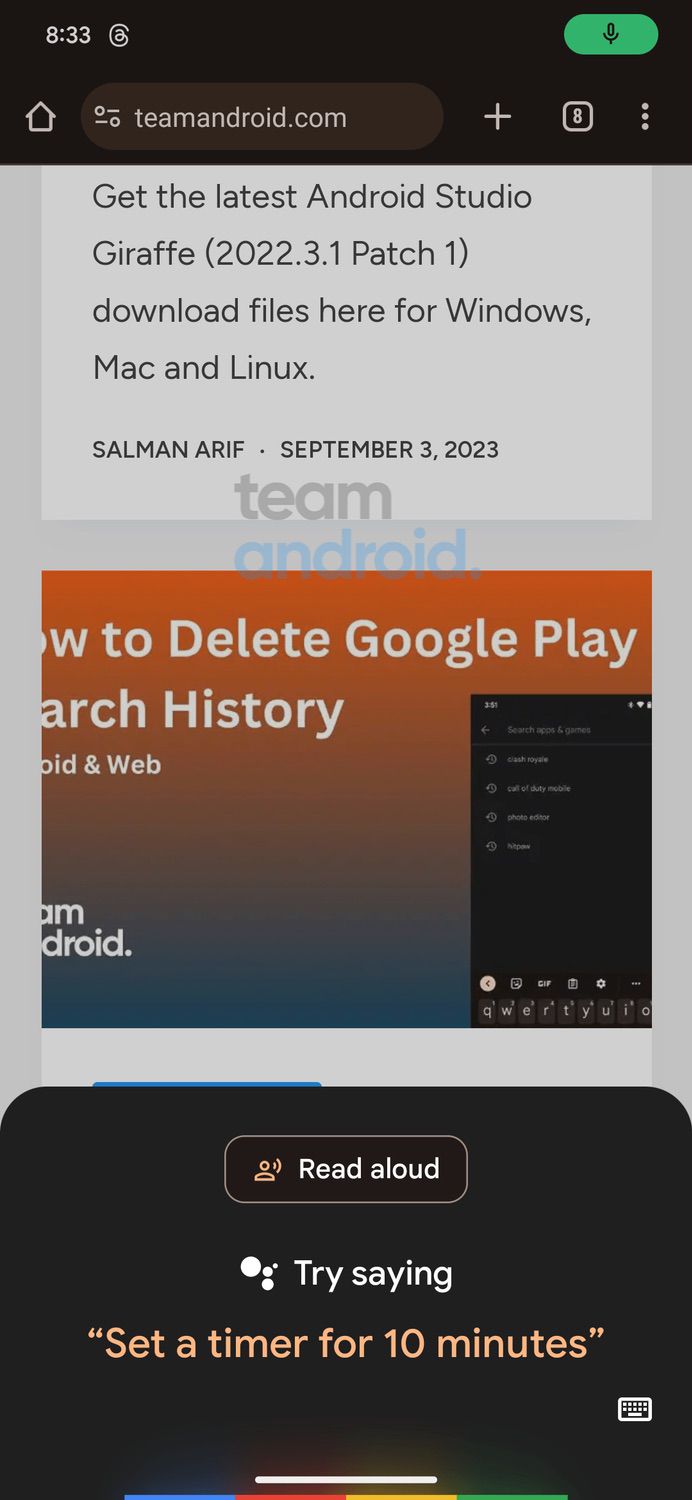
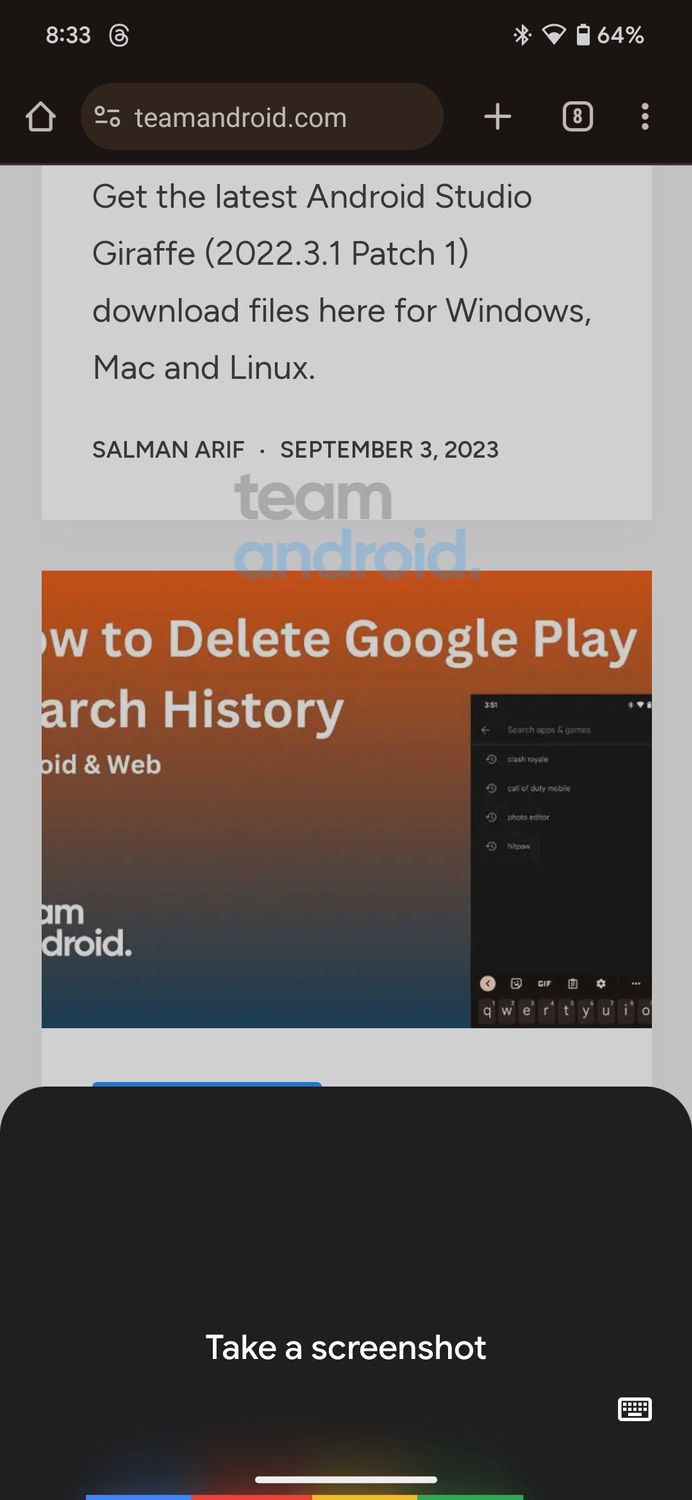
Once the screenshot is captured, you will get a notification showing you a preview of the screenshot from where you can share, edit or delete the image.
How to Take a Screenshot using Quick Settings Tile
On some Android devices, you can add a “Screenshot” tile to your Quick Settings panel for easy access:
- Open Quick Settings: Swipe down from the top of your screen to open the Quick Settings panel.
- Edit Tiles: Tap the pencil icon or “Edit” to customize the Quick Settings tiles.
- Add Screenshot Tile: Look for the “Screenshot” or “Capture” tile, then drag and drop it into your active tiles.
- Capture Screenshot: Now, you can simply tap the “Screenshot” tile in your Quick Settings to capture the screen.
- Access the Screenshot: The screenshot will be saved in your device’s gallery as usual.
How to Take a Screenshot on Samsung Galaxy Devices
For convenience, Samsung provides additional methods through which users can take screenshots on Galaxy phones and tablets. You can always use the universal default ways of taking a screenshot, but let’s also explore all the additional One UI methods you get with every Samsung Galaxy device.
How to Capture Screenshot with Palm Swipe Gesture:
This feature has been included in almost all of the latest Samsung TouchWiz phones (i.e. Android phones from Samsung that are not more than 2 years old). This feature is usually enabled by default, but in case it does not work — here is how to enable the feature and use it:
Step 1 – You need to activate the gesture itself before you can actually use it. In order to do so, go into the Settings app and select the Motion menu.
Step 2 – From the Motion menu, find out Hand Motions and then check the Palm Swipe to capture check-box.
Step 3 – Close the settings app, head to the screen which you want to capture.
Step 4 – Here is the fun part — now shape your hand like a knife (your thumb facing up) and swipe across the screen horizontally from either side, edge to edge. If you do it correctly, a swipe animation will trigger and it will save the screenshot.
How to Capture Long Screenshots with Scroll Capture:
Trying to save a messaging conversation that is longer than a single screenshot? The process ahead will allow you to utilize Samsung Experience’s built-in Scroll Capture feature to save longer screenshots.
Step 1 – Capture a screenshot from the starting point through either Method 1 or 2.

Step 2 – Once captured, there would be further options displayed on screen along with the preview of the screenshot on the bottom-right. From these options, select Scroll Capture.

Step 3 – Once you tap on Scroll Capture, the device would automatically scroll down till it fills with new content. A new screenshot would be taken and it would be stitched to the older one taken in Step 1.

Step 4 – You can continue repeating Step 3 till all your information is captured. The final image would look similar to this, height will vary depending on how many times you Scroll Capture.

How to Take a Screenshot on Xiaomi Mi / Redmi / POCO Phones
For Xiaomi owners, the ahead mentioned process is another way to easily take a screenshot on your Mi, Redmi or POCO device.
How To Take Screenshots Using the Drop-down Menu
Step 1 – Open the application/screen which you want to take a screenshot of.
Step 2 – Pull down the drop down menu (notification bar) from the top.
Step 3 – Locate the screenshot icon and tap on it. (It is usually a square shape with scissors in the center.)
Step 4 – You will see a quick animation and hear a feedback sound that will show that a screenshot was just taken.
How to Take a Screenshot on Nokia Android Phones
Following stock Android UI, HMD Global’s Nokia phones come with a quick settings toggle that lets you take screenshots on a Nokia phone.
Capture Screenshots from Quick Settings Panel
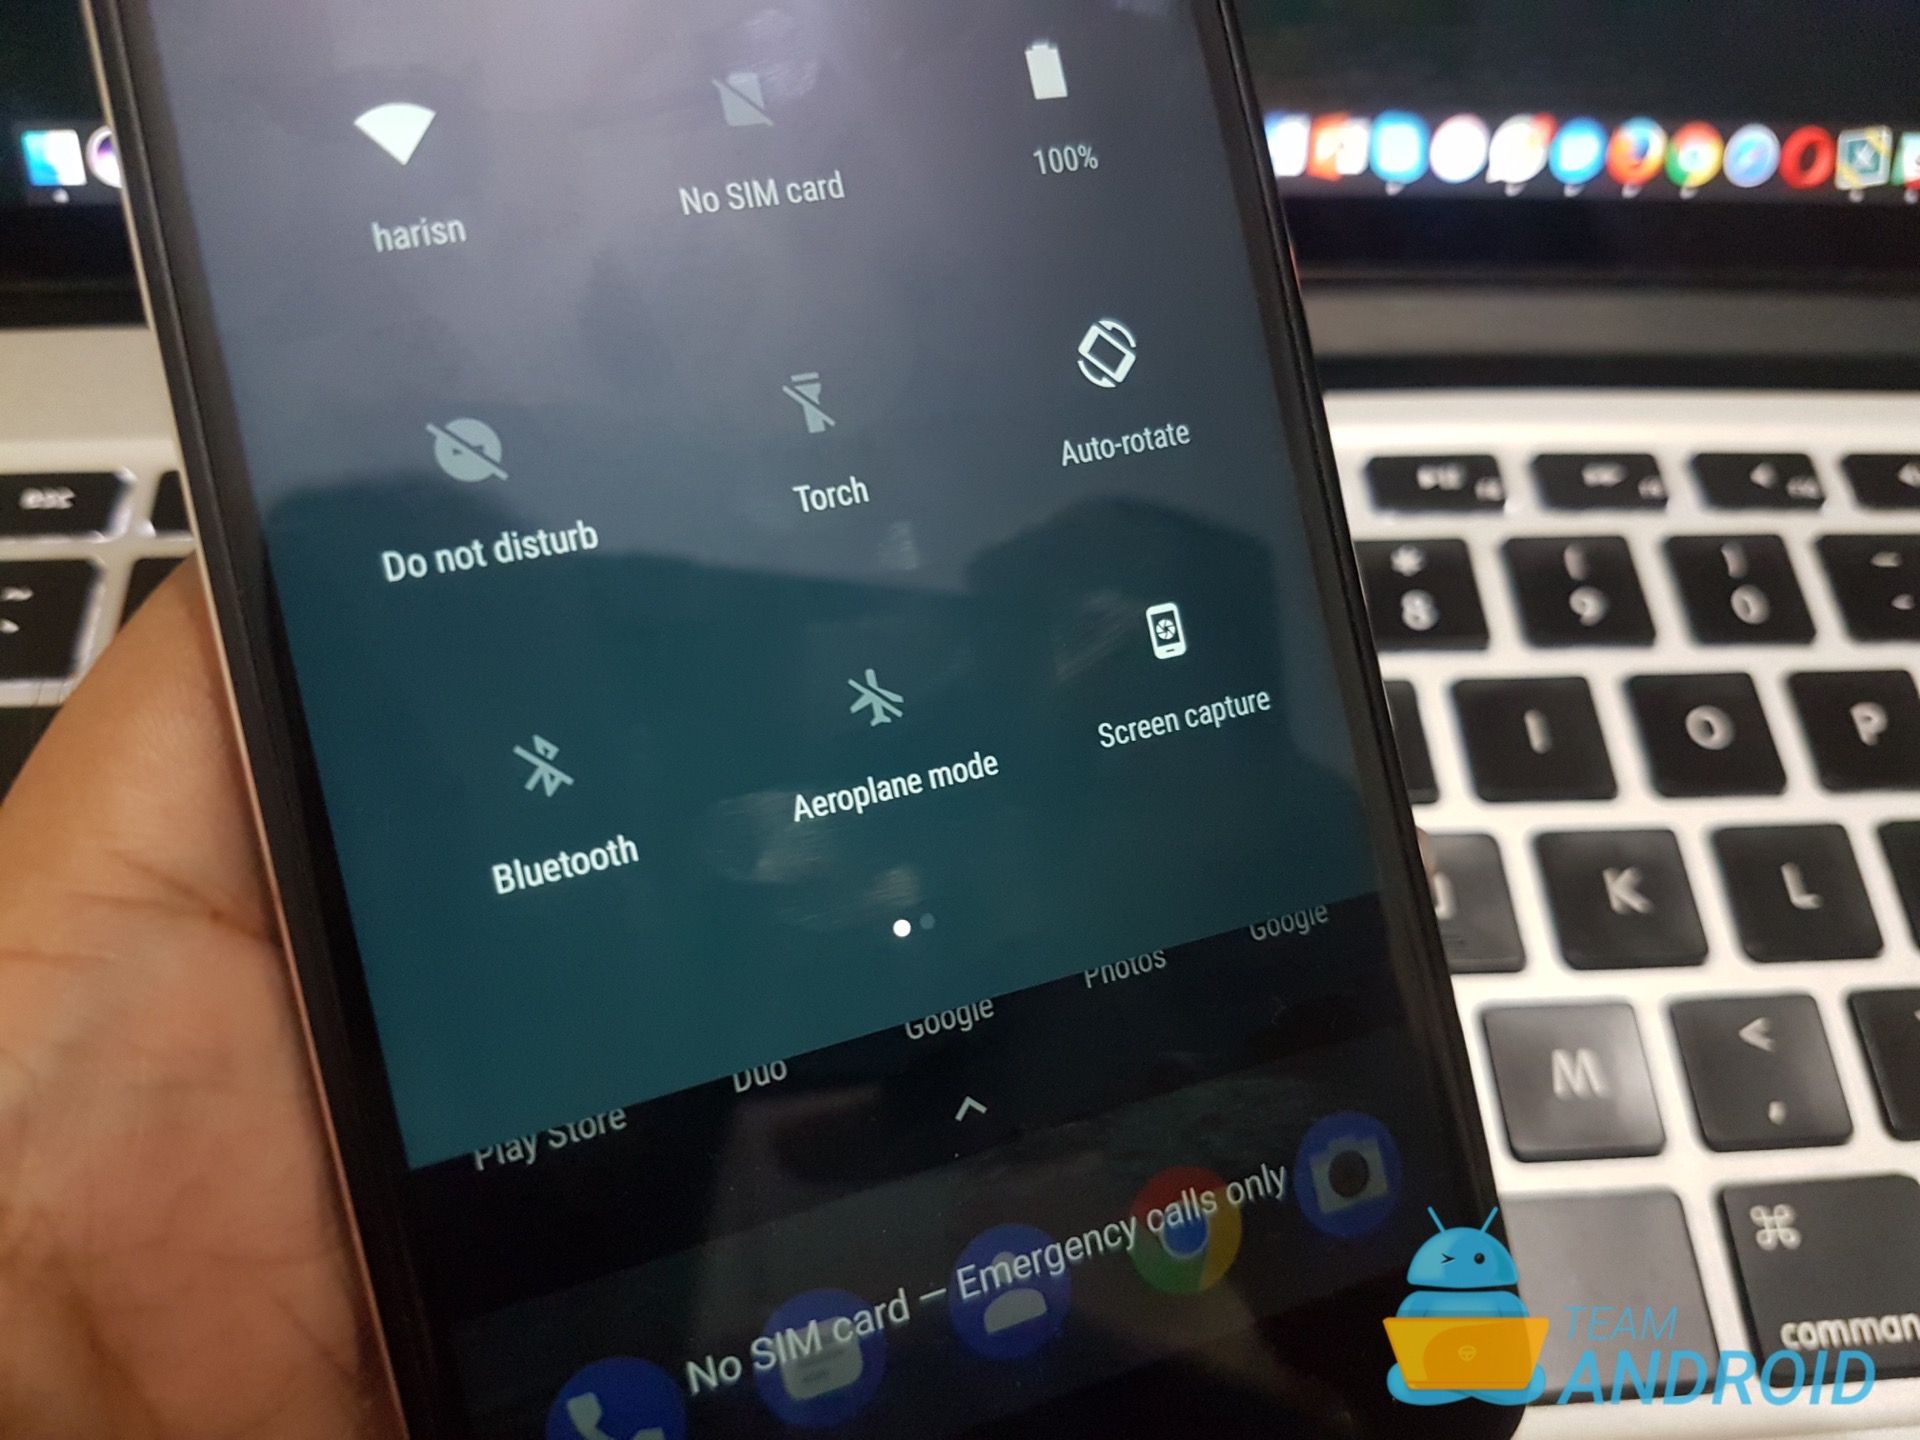
You can take screenshots from a tile in the quick settings panel on your Nokia device. Several third-party apps let you add a similar tile for the same purpose, but Nokia has included it out-the-box.
Step 1 – Swipe down the notifications panel on your Nokia phone.
Step 2 – Swipe it once again to see all the tiles in your quick settings panel.
Step 3 – You may have to swipe left to see more tiles.
Step 4 – Tap on Screen capture tile to capture a screenshot and save it to your phone.
How to Take a Screenshot on OnePlus Phones:
OnePlus owners can utilize the following procedures to grab screenshots on their phones.
Take Screenshots Using Power Menu
Like the first method, this is also one of the fastest methods of taking a screenshot from your smartphone.
Step 1 – Open Power window by going to settings app in your phone and tapping Power Menu. Settings > Power Menu.
Step 2 – Now go to the Application/ Window you want to screenshot.
Step 3 – long press the power button your phone and tap screenshot.
How to Take a Screenshot on Huawei Phones
Huawei has integrated various methods through which users can take screenshots on its Android devices. All of them have been listed ahead.
Take Screenshots Using Notification Center Pull Down:
This method makes it quite easy to grab what’s being displayed on the screen. The complete details for taking screenshots through the notification center is as follows:
Step 1 – Open the application/screen which you want to take a screenshot of.
Step 2 – Access the notification center by swiping down from the status bar on your Huawei device. You might have to swipe down twice to see the Screenshot button.
Step 3 – Just tap on the Screenshot button and the phone will automatically close the notification pull-down and grab what’s being displayed.
This might seem easy but we have a more convenient method given right ahead.
How to Capture Screenshot with Three Finger Gesture:

Thanks to EMUI, there is gesture support build into the operating system. Once enabled, you can take all your screenshots through the following steps.
Step 1 – You need to activate the gesture itself before you can actually use it. In order to do so, go into the Settings app and select the Smart Assistance menu.
Step 2 – From the Smart Assistance menu, find out Motion Control and then select Three-fingerScreenshot capture and enable it.
Step 3 – Close the settings app, head to the screen which you want to capture.
Step 4 – Now to take a screenshot, just hold out three fingers packed closely and swipe downwards on the display. Ideally, you should start swiping down from the middle of the display.
How to Capture Screenshot with Knuckle Tap:

This is a new method being introduced from EMUI 9.1. Users can now take screenshots using a tap of the knuckle. This seems to replace the three-finger gesture of old. To activate, follow the ahead steps.
Step 1 – You need to activate the gesture itself before you can actually use it. In order to do so, go into the Settings app and select the Smart Assistance menu.
Step 2 – From the Smart Assistance menu, find out Shortcuts & Gestures and then select Knuckle screenshot and enable it.
Step 3 – Close the settings app, head to the screen which you want to capture.
Step 4 – Now to take a screenshot, just tap with any knuckle on the screen
How to Take Screenshots on OPPO
Thanks to ColorOS, there is gesture support build into the operating system. Once enabled, you can take all your screenshots through the following steps.
How to Take Screenshots Using Gestures

Step 1 – You need to activate the gesture itself before you can actually use it. In order to do so, go into the Settings app and select the Smart & Convenient menu.
Step 2 – From the Smart & Convenient menu, find out Gesture & Motion and then select 3-finger Screenshot capture and enable it.
Step 3 – Close the settings app, head to the screen which you want to capture.
Step 4 – Now to take a screenshot, just hold out three fingers packed closely and swipe downwards on the display. Ideally, you should start swiping down from the middle of the display.
How to Take a Screenshot on Vivo Devices:
Vivo provides additional methods through which users can grab whats being displayed on the screen.
How to Take Screenshots Using Swipe gesture
Step 1 – Open up Settings app.
Step 2 – Browse or search for “Screenshot”
Step 3 – Enable Three fingers swipe screenshot.

How to Take Screenshots Using S-capture
Step 1 – Swipe up from bottom to bring up the Quick Settings menu.
Step 2 – From here, tap on S-capture.
Step 3 – Couple of options will be displayed that will let you either record your screen, take a simple screenshot or even a long-screenshot.
How to Take a Screenshot on Sony Xperia
Here is another process that Xperia owners can use to take screenshots on their phone.
Capture Screenshots Using Power Menu
Step 1 – Long press power button until the power menu shows up.
Step 2 – From the power menu, choose Take Screenshot.
How to Record Android Phone Screen
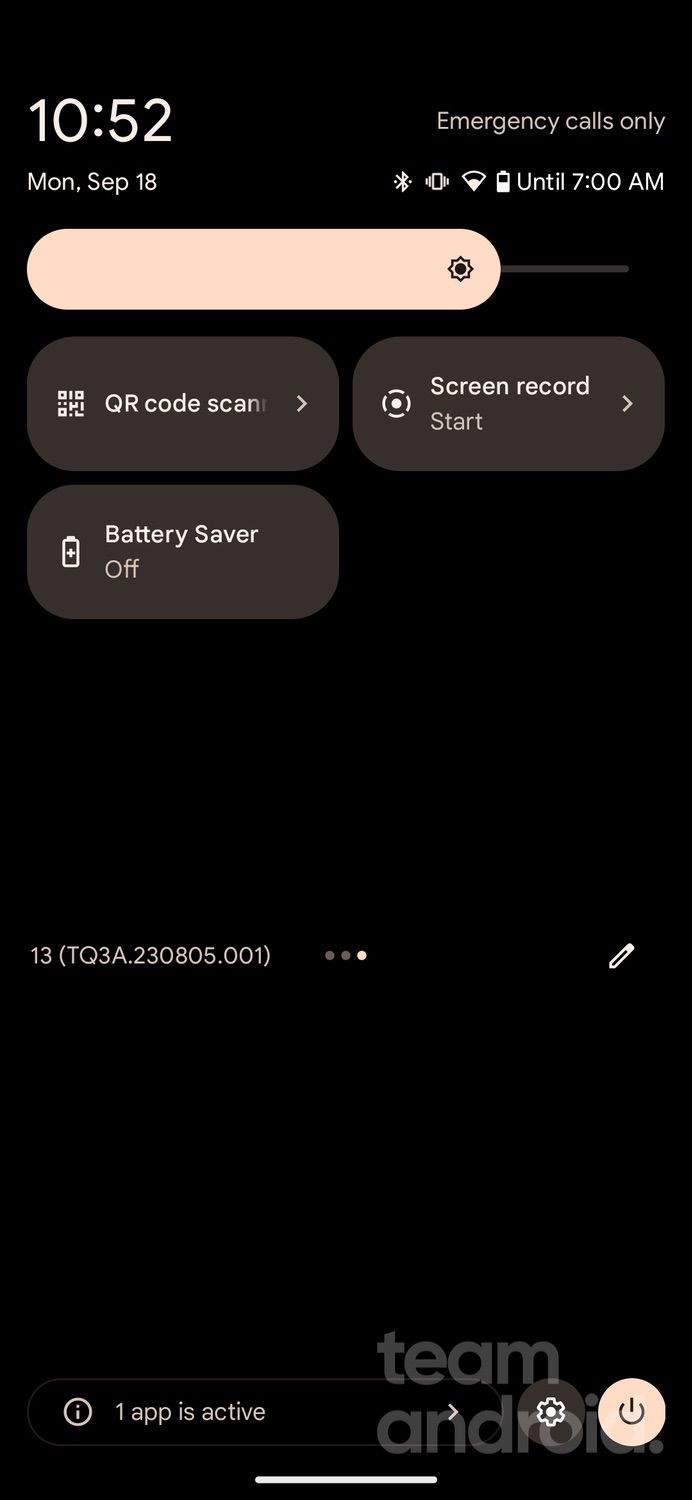
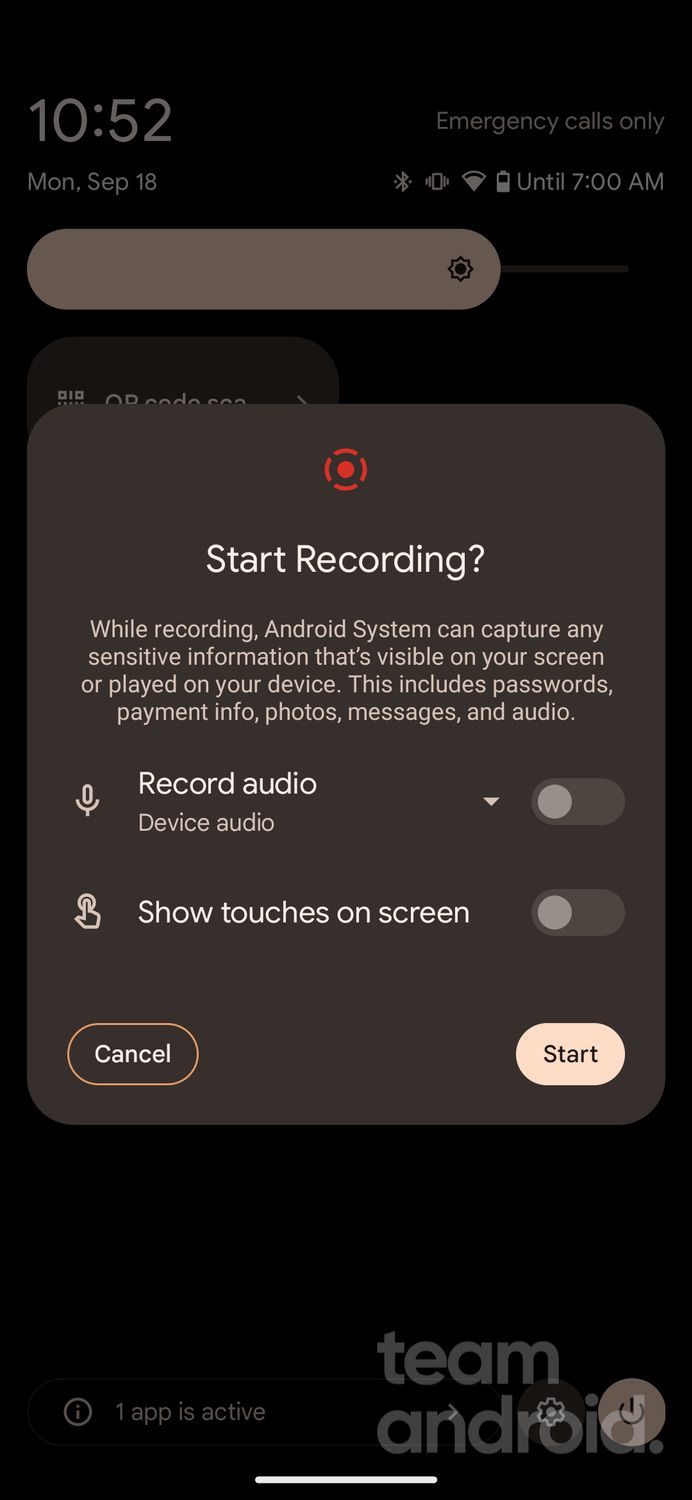
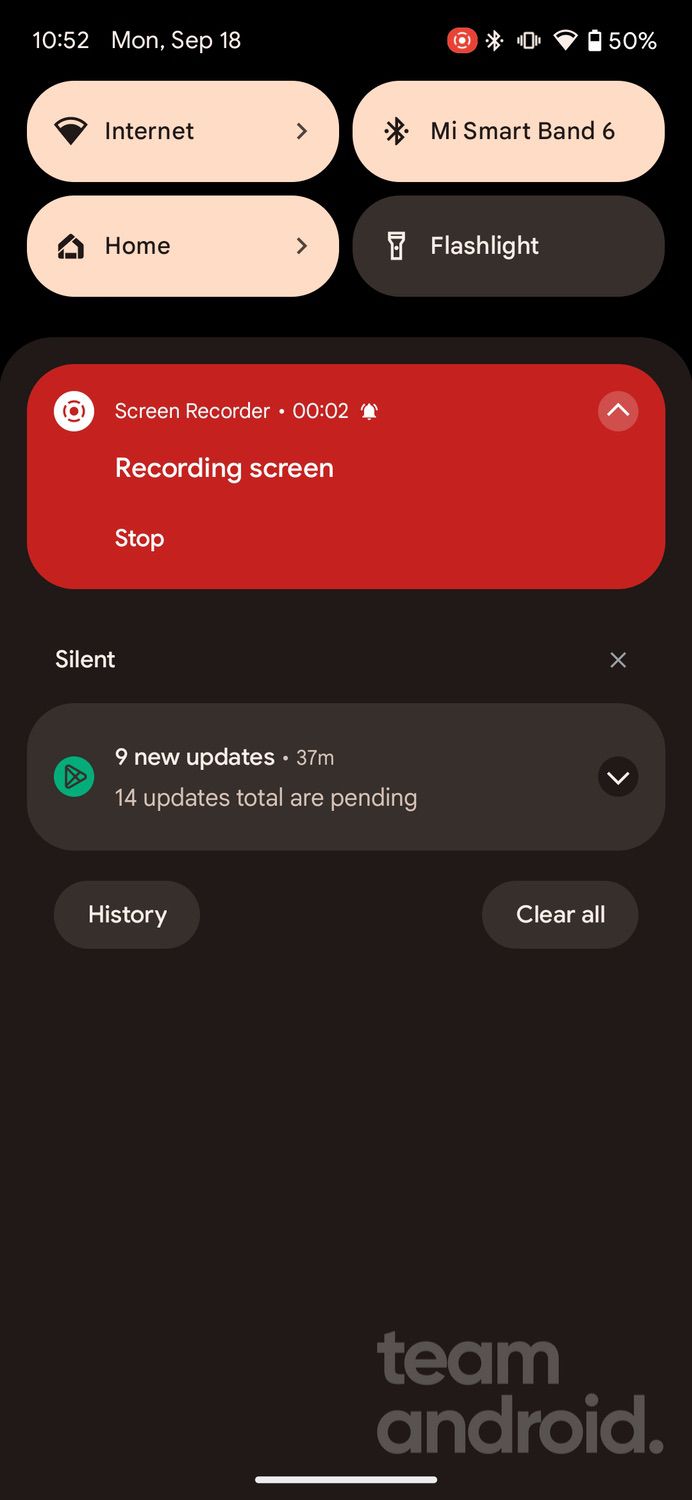
When sharing a screenshot is not enough, you can share information with a video of your screen. This is where the built-in screen recording feature makes your life easy.
There are a number of ways available that allow you to record your Android phone screen, however, we’d like to mention the built-in tool here instead of downloading any extra apps.
Here is how you can access this feature:
- Open Quick Settings: Swipe down from the top of your screen to access the Quick Settings panel.
- Find Screen Record: Look for the “Screen Record” tile in your Quick Settings. If you don’t see it, you can edit your Quick Settings tiles to add it.
- Start Recording: Tap the “Screen Record” tile to begin recording. You may be prompted to select whether you want to record audio from the microphone, device audio, or both.
- Stop Recording: To stop recording, tap the “Stop” button in the notification shade or the screen recording notification itself.
- Access the Recording: The recorded video will be saved in your device’s gallery or Photos app.
Taking a screenshot on your Android device is a straightforward process, and you can choose the method that best suits your device and preferences. Whether you prefer using hardware buttons, gestures, voice commands, or Quick Settings tiles, capturing and sharing what’s on your screen has never been easier.
And if images are not enough, you can always go for the screen recording feature to share videos with your information.

