
How to Fix: Pictures Won’t Download from Gmail on Android
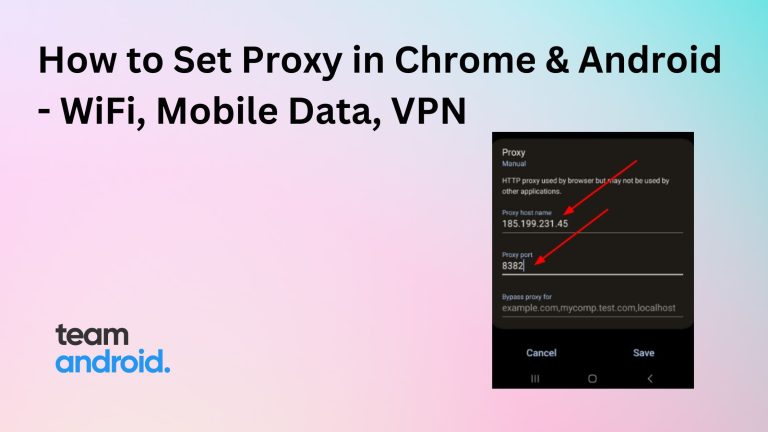
How to Set Proxy in Chrome for Android | WiFi, Mobile Data, VPN
If you want to browse the web anonymously, access geo-restricted content, or protect your privacy online, you might want to use a proxy server on your Android device. You may have come across the term “proxy server” on the web…
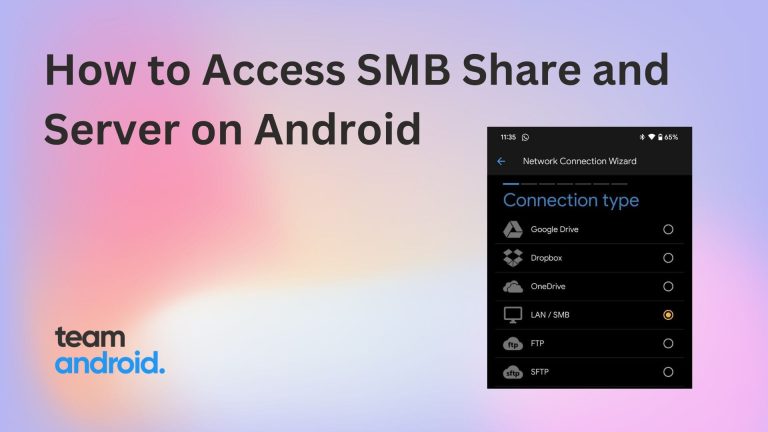
How to Access SMB Share and Server on Android
If you want to access files on your local network from your Android device, you don’t have to rely on cloud services. You can use the SMB protocol, which is a standard way of sharing files over a network. SMB…

Is it Possible to Run Docker Containers and Kubernetes on Android?
What is Android CellSignalStrength API? Explained!
If you’re living or working in a low signal area and you are unsure about your cellular signal strength, you may have seen applications that give you a relatively good idea about the strength of your cellular signals or internet…
What is com.android.vending.billing? Google Play Billing Library Explained!

Idle Breakout Codes, Hacks and Import Codes
Idle Breakout is a free, fun and online brick breaking game at Cool Math Games, which is also available to play on Android. You break different thickness of bricks based on numbers that are shown on the said bricks and…
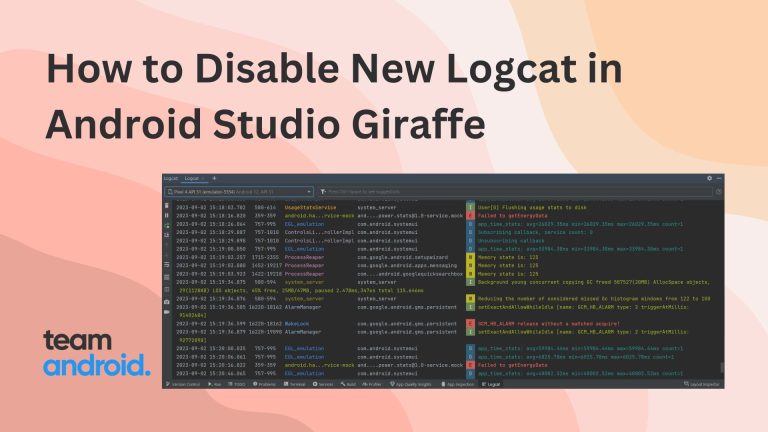
How to Disable New Logcat in Android Studio Giraffe
While there are many tools in Android Studio that play a vital role in developing a high quality and customized mobile applications of your need, if you have experience building one through Android Studio, you realize the importance of Logcat…

